Opening a port on your Raspberry Pi is essential for setting up network services like web servers, SSH access, or even custom applications. By configuring your ports correctly, you can enhance the functionality of your Raspberry Pi and ensure secure communication. In this guide, we'll explore everything you need to know about opening ports on Raspberry Pi, step by step.
Whether you're a beginner or an advanced user, understanding how to manage network ports on your Raspberry Pi is crucial. This article will walk you through the process, ensuring you have all the tools and knowledge necessary to configure your device effectively.
By the end of this guide, you'll be equipped with practical tips, best practices, and actionable steps to open ports on Raspberry Pi safely and efficiently. Let's dive in!
Read also:Good Morning Prayer For Friend
Table of Contents
- Introduction to Open Port on Raspberry Pi
- Why Open a Port on Raspberry Pi?
- Preparation Before Opening Ports
- Methods to Open Ports on Raspberry Pi
- Security Considerations When Opening Ports
- Common Ports Used on Raspberry Pi
- Troubleshooting Port Issues
- Advanced Port Management Techniques
- Best Practices for Managing Open Ports
- Conclusion
Introduction to Open Port on Raspberry Pi
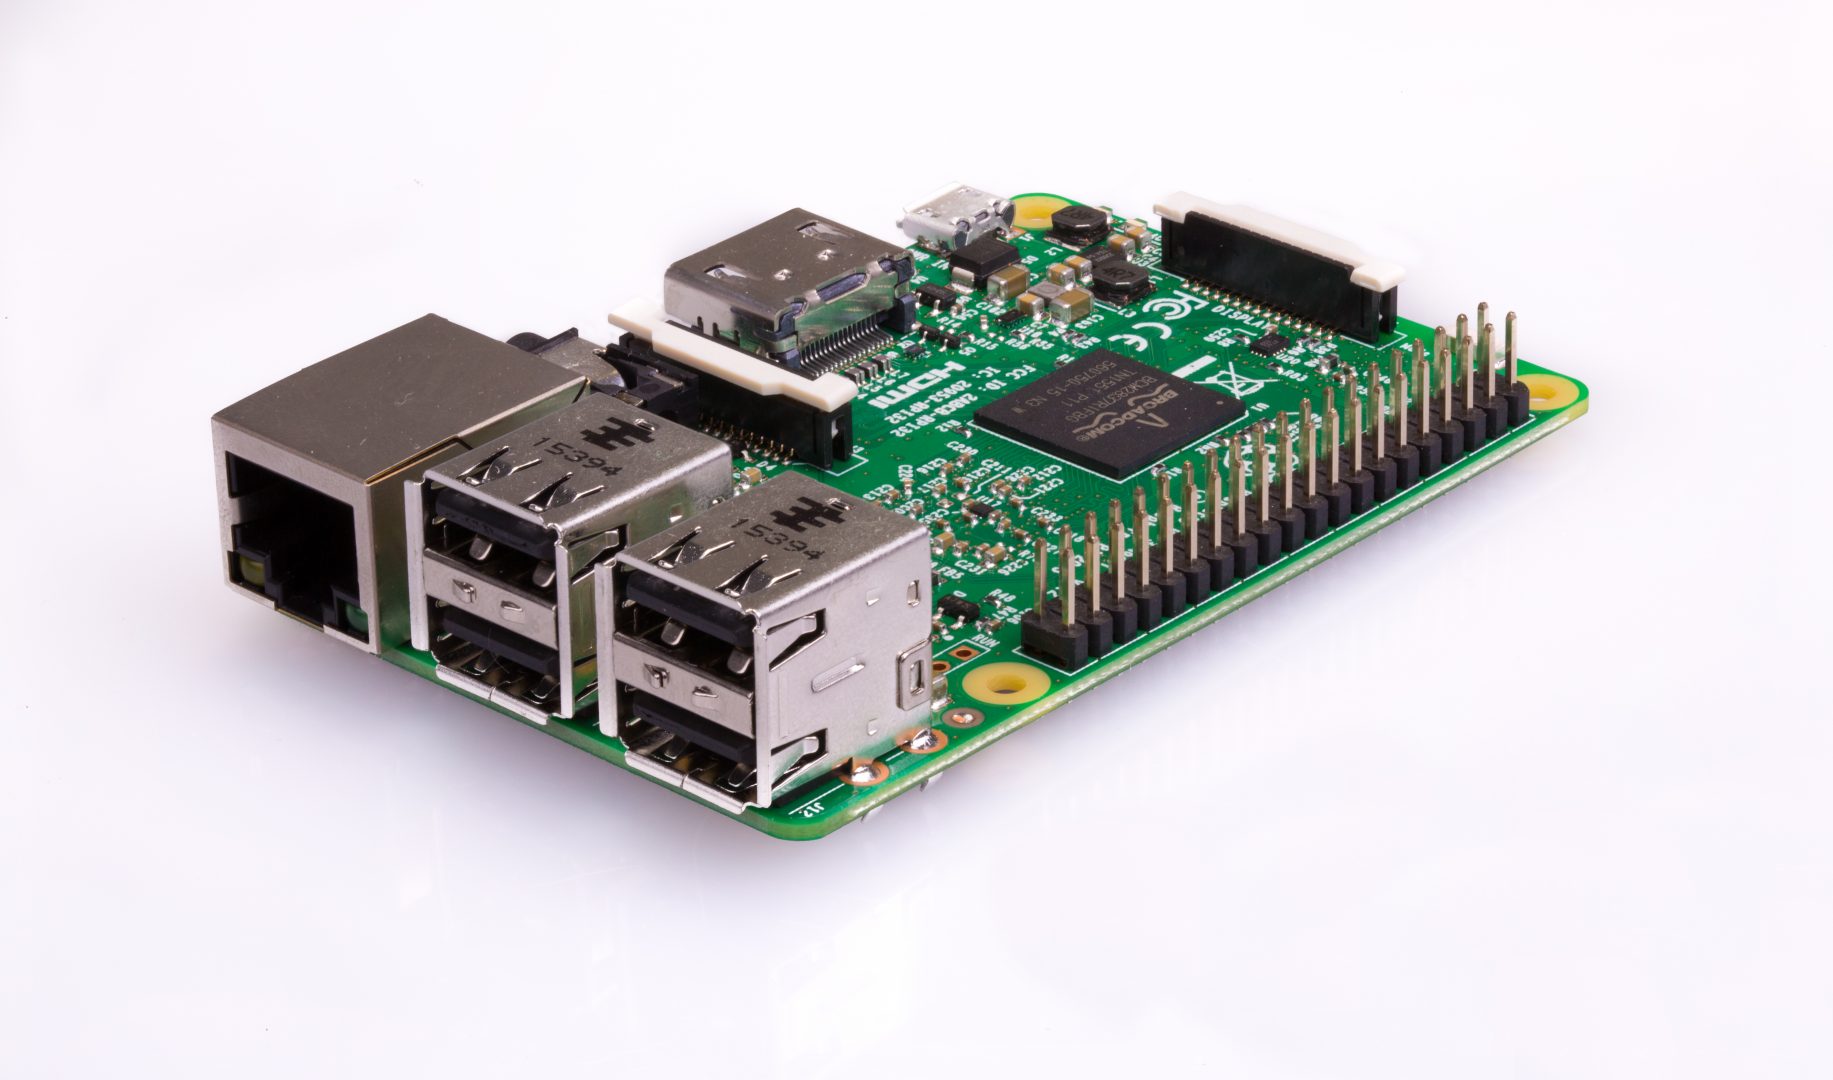
Opening a port on Raspberry Pi is a fundamental task for anyone looking to run network services on their device. Ports are the communication endpoints that allow devices to exchange data over a network. By opening specific ports, you enable your Raspberry Pi to communicate with other devices, whether locally or over the internet.
This section will provide an overview of what ports are, why they are important, and how they function in the context of Raspberry Pi. Understanding these basics will lay the foundation for the more technical aspects discussed later in the article.
Whether you're setting up a web server, running a media center, or experimenting with IoT devices, managing ports is a critical skill to master. Let's explore the basics of ports and their role in networking.
Why Open a Port on Raspberry Pi?
There are several reasons why you might want to open a port on your Raspberry Pi. For instance, if you're running a web server, you'll need to open port 80 (HTTP) or port 443 (HTTPS) to allow external access. Similarly, if you're using SSH for remote access, port 22 must be open for communication.
Here are some common scenarios where opening ports on Raspberry Pi is necessary:
- Web Server Setup: Enable external access to your Raspberry Pi's web server.
- Remote Access: Allow secure shell (SSH) connections from remote locations.
- Custom Applications: Run applications that require specific ports for communication.
- File Sharing: Set up FTP or Samba services for file transfer.
By opening the right ports, you can unlock the full potential of your Raspberry Pi and create a robust network environment.
Read also:Funny Dating Phrases
Preparation Before Opening Ports
Before you start opening ports on your Raspberry Pi, it's essential to prepare your device and ensure everything is set up correctly. Here are the steps you should follow:
- Update Your System: Run
sudo apt updateandsudo apt upgradeto ensure your Raspberry Pi is up to date. - Install Necessary Software: Install tools like
net-toolsandufwfor network management. - Check Current Port Status: Use commands like
netstat -tulnto see which ports are currently open. - Backup Your Configuration: Always back up your network settings before making changes.
By preparing your Raspberry Pi properly, you can avoid potential issues and ensure a smooth port-opening process.
Methods to Open Ports on Raspberry Pi
Method 1: Using SSH
SSH (Secure Shell) is a popular method for managing Raspberry Pi remotely. To open a port using SSH, follow these steps:
- Log in to your Raspberry Pi via SSH using a terminal or SSH client.
- Use the
iptablescommand to configure port forwarding. For example, to open port 80, run: - Save the changes by exporting the iptables rules:
sudo iptables -A INPUT -p tcp --dport 80 -j ACCEPT
sudo sh -c "iptables-save > /etc/iptables/rules.v4"
This method is ideal for users who prefer command-line interfaces and need precise control over port settings.
Method 2: Configuring Firewall
Using a firewall like UFW (Uncomplicated Firewall) is another effective way to manage ports on Raspberry Pi. Here's how you can do it:
- Install UFW if it's not already installed:
- Allow specific ports by running commands like:
- Enable the firewall with:
sudo apt install ufw
sudo ufw allow 22
sudo ufw enable
UFW simplifies the process of managing ports and provides an additional layer of security.
Method 3: Router Port Forwarding
If you want to open ports for external access, you'll need to configure port forwarding on your router. Here's a general guide:
- Access your router's admin interface by typing its IP address into a web browser.
- Locate the "Port Forwarding" section and add a new rule.
- Specify the external and internal ports, along with the Raspberry Pi's local IP address.
Router port forwarding is crucial for enabling internet access to your Raspberry Pi services.
Security Considerations When Opening Ports
While opening ports is necessary for many applications, it's important to prioritize security to protect your Raspberry Pi from potential threats. Here are some security tips:
- Use Strong Passwords: Ensure all accounts on your Raspberry Pi have strong, unique passwords.
- Limit Access: Restrict access to specific IP addresses or networks when possible.
- Monitor Traffic: Use tools like
tcpdumpto monitor incoming and outgoing traffic. - Regular Updates: Keep your Raspberry Pi and all installed software up to date with the latest security patches.
By following these best practices, you can minimize risks and ensure your Raspberry Pi remains secure.
Common Ports Used on Raspberry Pi
Here are some of the most commonly used ports on Raspberry Pi and their purposes:
- Port 22: SSH for remote access.
- Port 80: HTTP for web servers.
- Port 443: HTTPS for secure web connections.
- Port 21: FTP for file transfer.
- Port 53: DNS for domain name resolution.
Understanding these ports and their functions will help you configure your Raspberry Pi more effectively.
Troubleshooting Port Issues
Encountering issues while opening ports on Raspberry Pi is not uncommon. Here are some troubleshooting tips:
- Check Firewall Rules: Ensure UFW or iptables rules are correctly configured.
- Verify Router Settings: Double-check your router's port forwarding configuration.
- Test Connectivity: Use tools like
ncortelnetto test port connectivity. - Consult Logs: Review system logs for any errors or warnings related to network settings.
By systematically addressing these issues, you can resolve most port-related problems.
Advanced Port Management Techniques
For advanced users, there are additional techniques to manage ports on Raspberry Pi:
- Dynamic Port Allocation: Configure your applications to use dynamic ports for flexibility.
- Port Knocking: Implement port knocking for an added layer of security.
- Network Segmentation: Use VLANs or subnets to isolate different types of traffic.
These techniques require a deeper understanding of networking concepts but can significantly enhance your Raspberry Pi's capabilities.
Best Practices for Managing Open Ports
To ensure smooth and secure port management on your Raspberry Pi, follow these best practices:
- Document Your Configuration: Keep detailed records of all open ports and their purposes.
- Regularly Audit Ports: Periodically review your open ports to ensure they are still necessary.
- Use Secure Protocols: Whenever possible, use encrypted protocols like HTTPS or SSH.
- Limit Exposure: Avoid exposing unnecessary ports to the internet.
By adhering to these practices, you can maintain a secure and efficient network environment.
Conclusion
Opening a port on Raspberry Pi is a critical task for anyone looking to leverage the full potential of their device. By following the steps outlined in this guide, you can configure your Raspberry Pi's ports safely and effectively. Remember to prioritize security and regularly audit your network settings to ensure optimal performance.
We encourage you to share your experiences or ask questions in the comments section below. Additionally, feel free to explore other articles on our site for more Raspberry Pi tips and tricks. Together, let's build a more connected and secure digital world!